Let’s be honest: mornings are chaos. Somebody can’t find a shoe, the coffee maker is being weird, and you’re standing in front of the fridge wondering how “healthy breakfast” turned into “granola bar eaten in the car.” If that’s your life right now, I’ve got a fix that’s genuinely changed my mornings — and it’s not complicated, expensive, or one of those “life hacks” that ends up creating more work than it saves.
It’s smoothie freezer packs. You prep once, and for the next few weeks, breakfast is just dump-and-blend. No chopping, no measuring, no sad spinach wilting in your crisper drawer while you pretend you’ll use it “this week.” I started doing this a while back out of sheer desperation, and now I genuinely can’t imagine going back to my old routine. Ready to steal my system? Let’s get into it.
If mornings feel rushed, smoothie freezer packs are one of the easiest ways to prep healthy breakfasts ahead of time.
Looking for more quick breakfast ideas? Try these 12 Healthy Breakfast Smoothies Better Than Skipping Breakfast.
Why Smoothie Freezer Packs Are a Total Game-Changer
Here’s the thing about smoothies: they’re one of the easiest ways to get fruits, veggies, and protein into your body before 8 a.m. But the daily prep? That’s where most people fall off. You either run out of an ingredient, forget to buy spinach again, or just don’t have ten minutes to chop and measure before rushing out the door.
Freezer packs solve all of that in one move. You do the prep work once, in a single batch session, and then you’re set for one to two weeks (sometimes longer). Future-you will be thrilled.
A few reasons this method works so well:
- It saves real time. No daily chopping or measuring — just grab, dump, blend.
- It saves money. Buying produce in bulk and using it before it goes bad means less waste and lower grocery bills.
- It keeps you consistent. When healthy breakfast is easier than unhealthy breakfast, you actually do it.
- It’s family-friendly. Everyone can grab their own flavor and customize without you playing short-order cook every morning.
IMO, this is one of those rare meal-prep hacks that actually delivers on its promise instead of just looking good on Pinterest. 🙂
| Freezer Pack | Best For | Liquid to Add |
|---|---|---|
| Protein-Packed Berry | Filling breakfast | Almond milk |
| Banana-Free Tropical | Summer mornings | Coconut milk |
| Chocolate-PB | Kids or sweet cravings | Oat milk |
| Green Machine | Beginner green smoothie | Coconut water |
| Ginger Peach | Light morning smoothie | Almond milk |
What You’ll Need Before You Start
You don’t need fancy equipment for this. In fact, keeping it simple is part of why the system works — if your setup is complicated, you won’t keep doing it.
Containers: Bags vs. Jars vs. Reusable Pouches
You’ve got three main options here, and each has tradeoffs:
- Freezer-safe quart bags — cheap, easy to find, and they lay flat in the freezer to save space. The downside? They’re disposable, so if you’re trying to cut down on plastic, they’re not ideal.
- Reusable silicone freezer bags — more eco-friendly, reusable for months, and just as easy to fill. They cost more upfront but pay for themselves.
- Wide-mouth mason jars — great if you hate the idea of food touching plastic, but they take up more freezer space and need about an inch of headspace so they don’t crack when the contents expand.
Personally, I lean toward reusable silicone bags. They lay flat like disposable bags but I don’t feel guilty tossing one in the trash every week. Use whatever works for your kitchen and budget though — there’s no wrong answer here.
Other Supplies
- A permanent marker (for labeling — trust me, you will forget which bag is which)
- A funnel or wide-mouth pitcher (makes filling bags way less messy)
- Measuring cups for portioning
- Freezer space — more on organizing that below
How to Make Smoothie Freezer Packs: Step-by-Step
Okay, here’s the actual process. It sounds like a lot written out, but in practice this takes maybe 30–45 minutes for a full week of packs.
Step 1: Pick Your Recipes
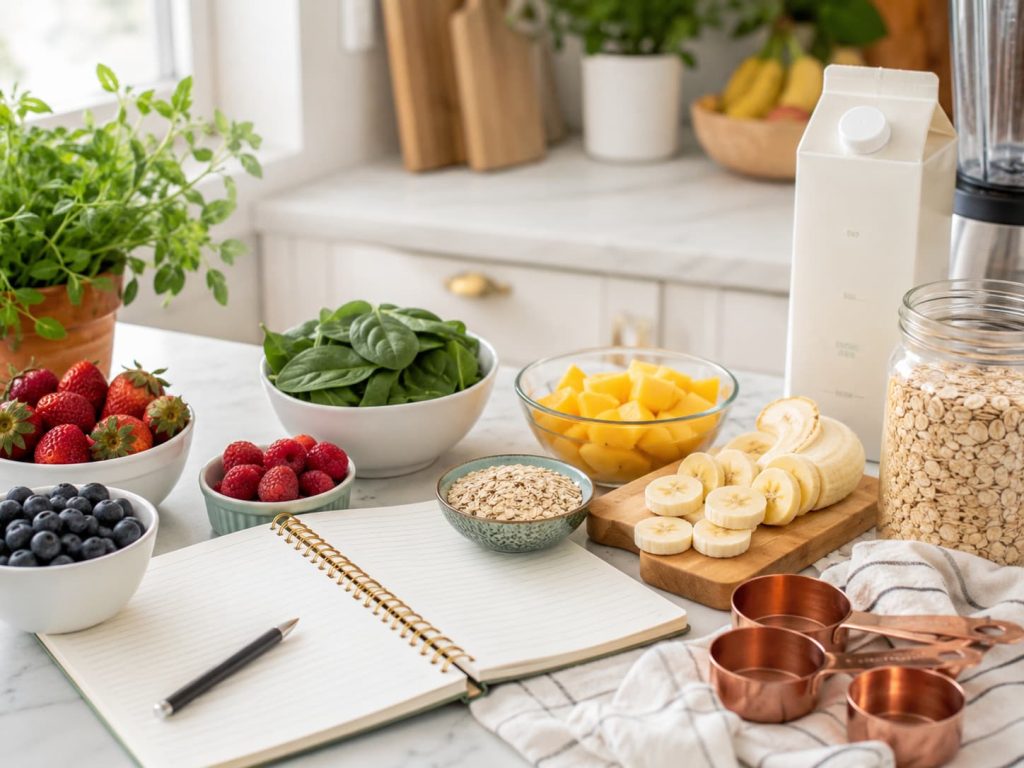
Choose 3–5 smoothie recipes to start. Any more than that and your grocery list gets out of hand fast. I’d recommend picking recipes that share a few common ingredients (like spinach or almond milk) so your shopping list stays simple.
Step 2: Prep Your Produce
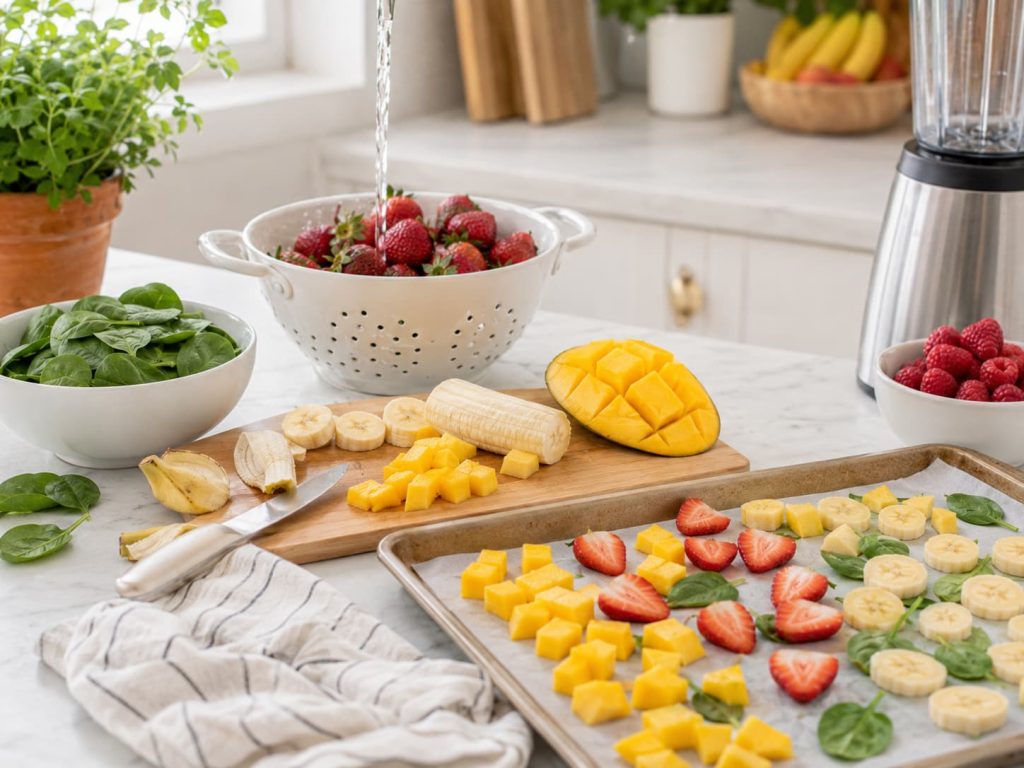
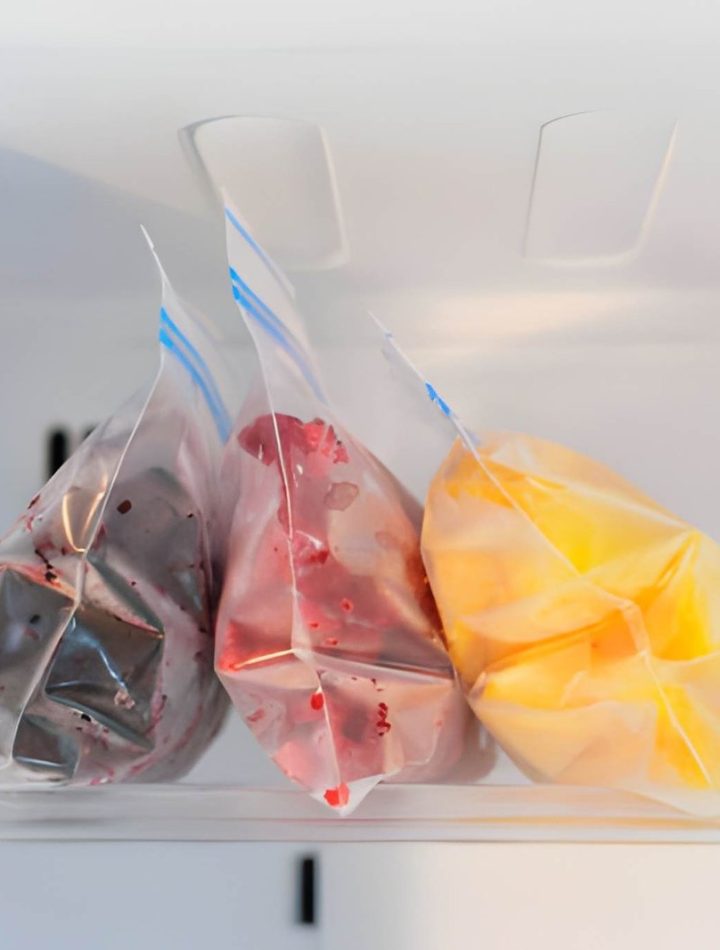
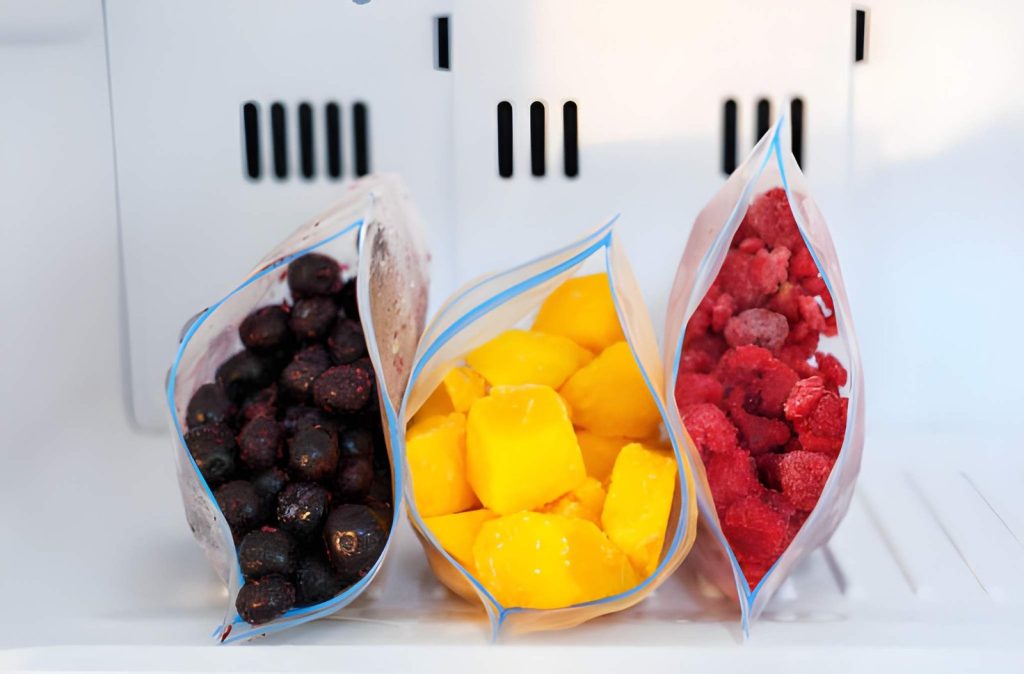
If you’re using fresh fruit, wash, peel, and chop it now. Pro tip: freeze chopped fresh fruit in a single layer on a baking sheet first, then transfer to bags. Skipping this step means everything freezes into one giant fruit brick, and nobody has time to chip mango out of a block of ice at 7 a.m.
If you’re using frozen fruit from the store, you can skip this step entirely. Less work for you — no shame in taking the shortcut.
Step 3: Portion Everything Except the Liquid
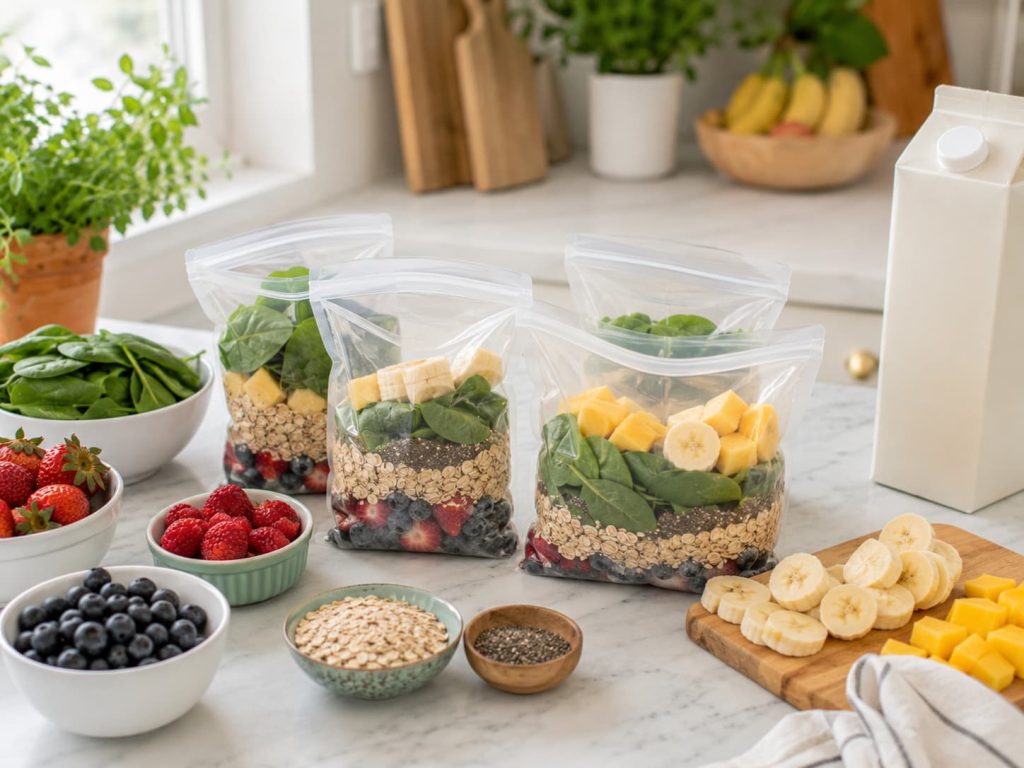
This is the part people mess up most: don’t add your liquid (milk, juice, water) to the freezer pack. Liquid doesn’t freeze flat or thaw well in a bag, and you’ll just end up with an ice block instead of a smoothie pack.
Into each bag, add:
- Your fruit
- Greens (spinach, kale — whatever the recipe calls for)
- Oats, nut butter, or protein powder, if the recipe includes them
- Any seeds or extras (though some people prefer to add chia or flax fresh, since they can clump in the freezer)
Step 4: Remove the Air and Seal
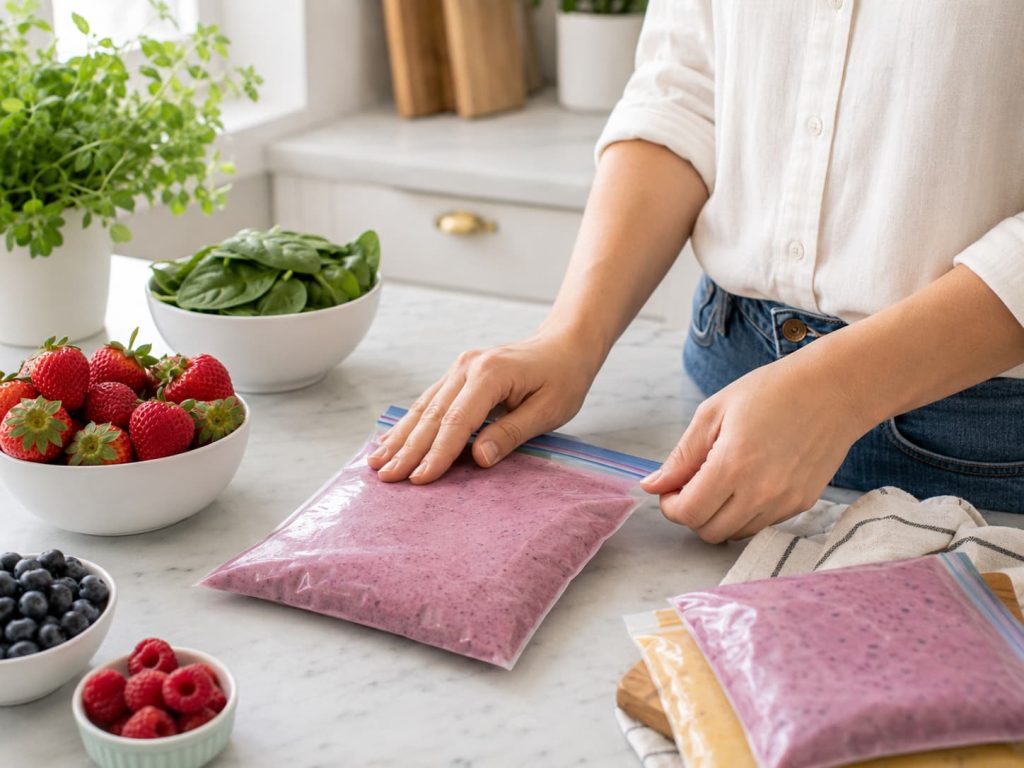
Push out as much air as you can before sealing the bag — this prevents freezer burn and helps everything freeze faster and more evenly. A straw works in a pinch to suck out extra air, just skip that trick if your bag has powdery ingredients like cocoa or protein powder (you do not want to inhale that).
Step 5: Label Each Bag
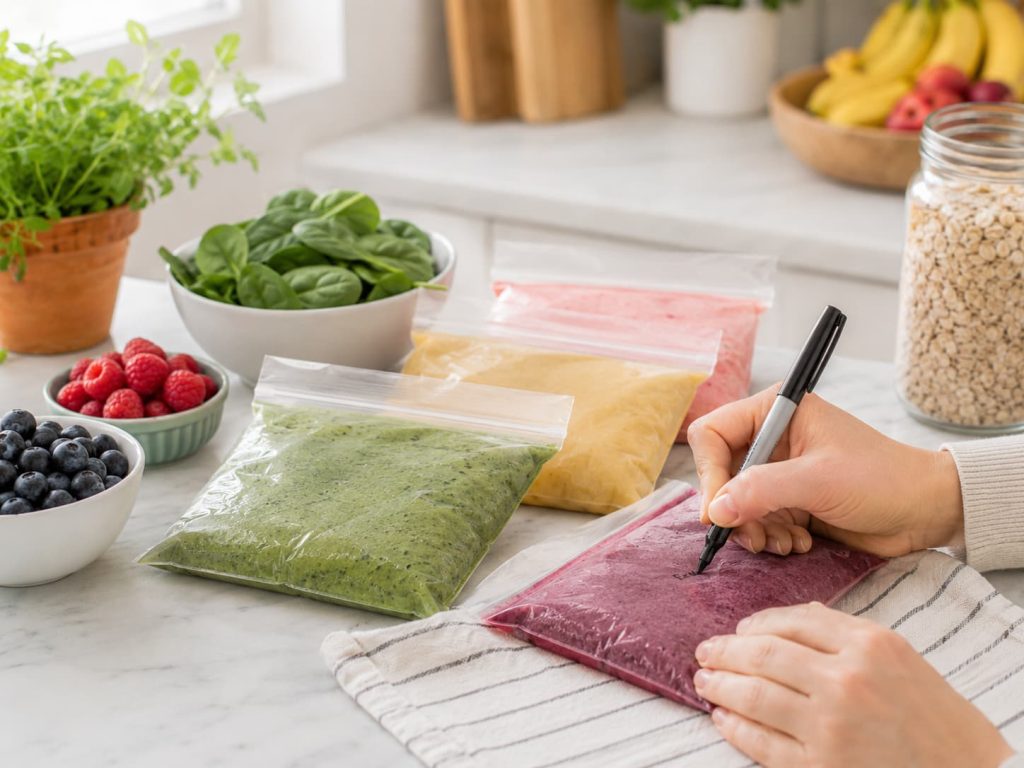
Write the smoothie name and the date on the bag. If you want to be extra organized, jot down how much liquid to add when you blend it — future you, half-asleep at 6 a.m., will appreciate not having to think.
Step 6: Freeze Flat, Then Store Upright
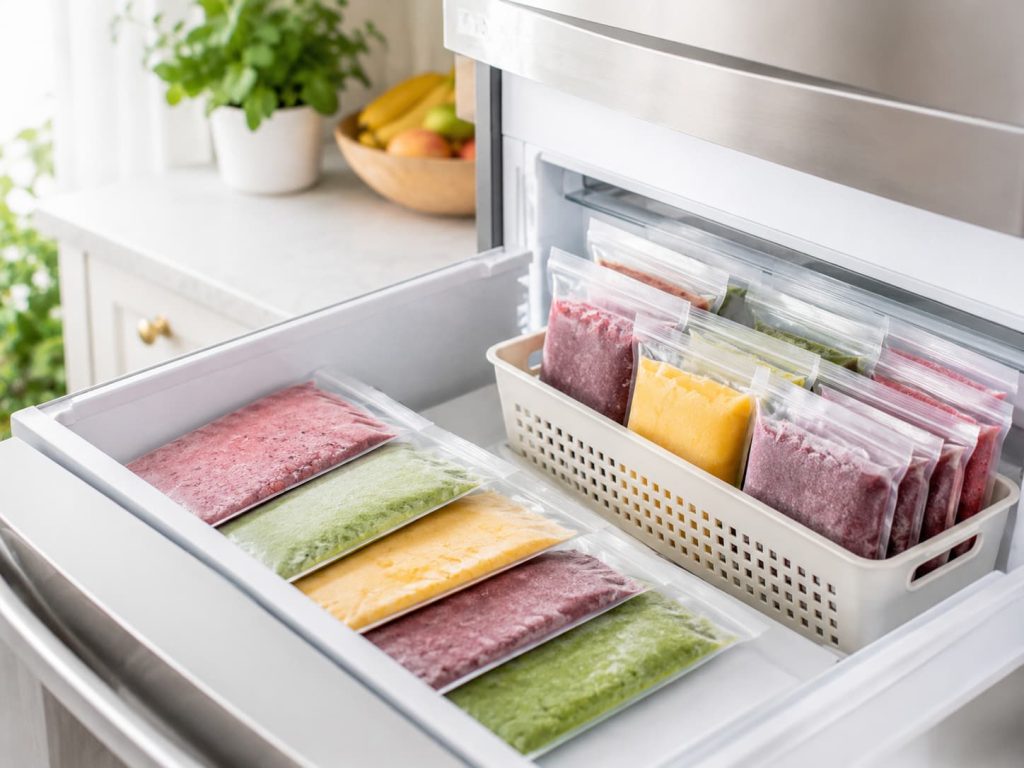
Lay bags flat in the freezer until solid (this usually takes a few hours). Once frozen, you can stand them upright in a bin, basket, or even a cut-down cereal box to keep things organized and easy to grab.
Pro Tips for Smoothie Freezer Pack Success
A few lessons I learned the hard way, so you don’t have to:
- Don’t overpack the freezer. Leave a little room for air circulation so packs freeze quickly and evenly.
- Bananas work better pre-sliced. Slice them before freezing — trying to cut a frozen banana is a workout nobody asked for.
- Run the bag under warm water for a few seconds before blending if the contents are stuck together. This loosens things up without fully thawing your smoothie.
- Most packs last 1–3 months in the freezer, though they taste best within the first 4–6 weeks.
- Add powders and seeds at blend time, not freeze time, if you can — protein powder and chia seeds can get clumpy or stick to the bag when frozen.
Ever wonder why some people swear smoothie prep “doesn’t work” for them? Usually it’s because they skipped one of these steps and ended up with a frozen brick instead of a smoothie. Don’t be that person. :/
A Few Smoothie Pack Combos to Get You Started
Since you’re already building your freezer stash, here are flavor directions worth trying (swap in your own go-to recipes, too):
- Protein-Packed Berry — mixed berries, Greek yogurt or protein powder, a handful of spinach
- Banana-Free Tropical — mango, pineapple, coconut milk, a squeeze of lime
- Kid-Approved Chocolate-PB — banana, cocoa powder, peanut butter, oats
- Green Machine — spinach or kale, mango, avocado, chia seeds
- Gut-Friendly Ginger Peach — peaches, ginger, plain yogurt, a few oats
Pick 2–3 to start so your freezer doesn’t turn into total chaos. You can always add more flavors once you’ve got the system down.
Want more banana-free ideas? Check out these 10 Creamy Smoothies Without Banana You’ll Actually Love.
How to Use Your Smoothie Freezer Packs
When morning hits, here’s the drill:
- Add your liquid to the blender first (this helps everything blend smoothly).
- Dump in the frozen pack contents.
- Add any fresh extras (protein powder, seeds, a drizzle of honey).
- Blend until smooth, adding a splash more liquid if it’s too thick.
That’s genuinely it. From freezer to glass in under two minutes — no chopping, no cleanup beyond rinsing the blender.
Smoothie Freezer Pack FAQ
How long do smoothie freezer packs last? Most packs stay good for 1–3 months in the freezer, though they’re best used within the first month for optimal flavor and texture.
Can I add yogurt or protein powder before freezing? You can, but I’d recommend adding protein powder fresh at blend time since it can clump when frozen. Yogurt freezes fine if you want to include it in the pack.
Do bananas turn brown in the freezer? A little browning can happen over time, especially after a month or more, but it doesn’t affect the taste — just the look. If that bothers you, toss a splash of lemon juice over sliced bananas before freezing.
Can I make a whole month of packs at once? Absolutely, as long as you have the freezer space. Just know that quality (texture and flavor) is best within the first 4–6 weeks.
The Bottom Line
Smoothie freezer packs are honestly one of the lowest-effort, highest-payoff meal-prep tricks I’ve tried. One prep session buys you weeks of grab-and-blend mornings, and your future self will thank you every single time you skip the morning scramble. Give it a try this week — pick three recipes, fill some bags, and see how much smoother (pun intended) your mornings get.
Looking for a More Structured Plan?
If freezer packs have you hooked on the idea of smoothies as an easy meal solution and you’re curious about taking it further, The Smoothie Diet 21-Day Program is worth a look. It gives you a structured 3-week smoothie plan with recipes, shopping lists, and a schedule you can follow if you want more guidance, paired with one whole-food meal and up to two snacks. The program comes with 36 smoothie recipes, shopping lists, a meal schedule, and a transition guide for easing back into regular eating once the 21 days are up — plus a 60-day money-back guarantee if it’s not the right fit.
It’s not a magic fix, and results vary person to person (no diet can promise otherwise), but if you want recipes and a schedule already mapped out for you instead of building your own from scratch, it might be worth checking out.
For hot days, you may also like these 20 Refreshing Summer Smoothie Recipes for Hot Days.